KT 板三角飞翼
完整制作教程
KT Foam Delta Flying Wing
Complete Build Guide
三角飞翼(Delta Wing)是一种无尾布局飞机,外形简洁、高速灵活,在各种场地都能表现出色。KT板飞翼制作难度适中,需要掌握翼型折叠、翼梁加强和重心调整等关键技术。完成后你将拥有一架速度感十足的翼型飞机,体验与教练机截然不同的飞行手感。 The delta flying wing is a tailless aircraft design — sleek, fast, and agile in any flying environment. Building a KT foam flying wing is intermediate difficulty, requiring mastery of airfoil folding, spar reinforcement, and center-of-gravity tuning. The result is a thrilling high-speed wing that flies completely differently from a conventional trainer.
📋 材料清单📋 Materials List
- KT板 5mm × 2张(A1尺寸)KT foam 5mm × 2 sheets (A1 size)
- 无刷电机 2206 2300KVBrushless motor 2206 2300KV
- 电调 ESC 30AESC 30A
- 舵机 9g × 2个(副升合一)9g servo × 2 (elevon servos)
- 螺旋桨 5×4.5英寸Propeller 5×4.5 inch
- 锂电池 3S 1500mAhLiPo battery 3S 1500mAh
- 碳纤维管 6mm × 450mm(翼梁)Carbon fiber tube 6mm × 450mm (spar)
- 竹签若干、CA胶、热熔胶Bamboo rods, CA glue, hot glue
- 宽胶带(舵面铰链用)Wide tape (for hinge)
设计翼型图纸Design the Airfoil Templates
准备工作 · 约30分钟Preparation · ~30 min
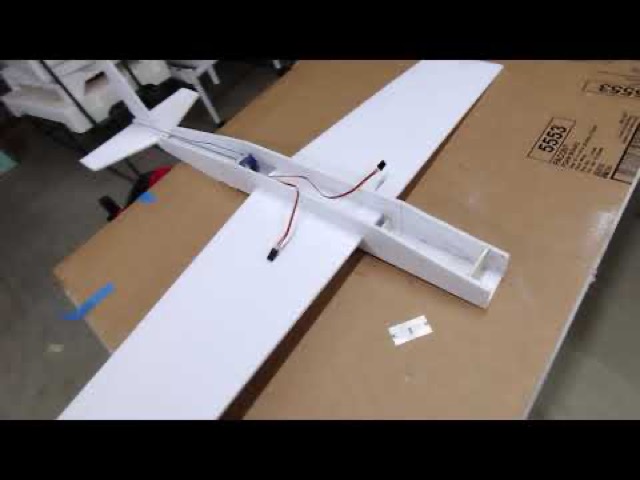
飞翼设计的核心参数是翼展、后掠角和翼弦长度。建议入门飞翼翼展约700-800mm,后掠角45-55°。按照1:1比例打印或手绘平面图,标注所有关键尺寸和折叠线位置。The core design parameters for a flying wing are wingspan, sweep angle, and chord length. A good starter wing is 700–800mm span with 45–55° sweep. Print or draw the planform at 1:1 scale, marking all key dimensions and fold line positions.
- 主翼平面形:等腰三角形或梯形,翼展700mm,前缘后掠50°Main wing planform: isosceles triangle or trapezoid, 700mm span, 50° leading edge sweep
- 翼梢处可设计小翼稳定器(Winglet),高度约40mmAdd small winglets at the tips (~40mm height) for directional stability
- 副升合一舵面(Elevon)占后缘长度约35%Elevon (combined aileron/elevator) occupies ~35% of the trailing edge
- 机头整流罩长度约120mm,足以容纳电机和电调Nose fairing ~120mm long to house motor and ESC
💡 设计要点💡 Design Tip
飞翼的稳定性主要依靠翼型反弯(S形翼型)和适当的后掠角。建议在翼型图纸上标注折叠后的翼型剖面,确保折叠后中间部分略微拱起,翼梢部分较平,形成自然的扭转角(Washout)。Flying wing stability relies on a reflexed (S-shaped) airfoil and adequate sweep. Mark the folded airfoil cross-section on your template — the center should arch slightly more than the wingtip, creating a natural washout (twist) that helps prevent tip stalls.
裁切主翼Cut the Main Wing
结构制作 · 约45分钟Structure · ~45 min
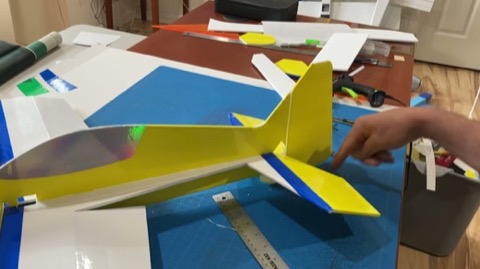
将图纸用胶带固定在KT板上,用锋利的美工刀沿轮廓线一次性裁切,特别注意前缘后掠角要精准。飞翼是左右对称的,建议两片同时裁切以保证完全一致。Tape the template to the KT foam and cut along all outlines with a sharp utility knife in single strokes. Pay special attention to the leading edge sweep angle for accuracy. Since the wing is symmetric, cut both halves simultaneously for a perfect match.
- 将图纸对折,同时裁切左右两片,确保翼展完全对称Fold the template in half and cut both halves at once for perfect symmetry
- 用金属直尺辅助切割前缘直线段,保证后掠角精确Use a metal ruler for the straight leading edge sections to nail the sweep angle
- 预留舵面区域,在舵面铰链线位置做好标记Leave the elevon areas intact and mark the hinge lines clearly
- 裁切翼梢小翼,备用Cut the wingtip winglets and set aside
⚠️ 注意事项⚠️ Important
裁切前缘时角度要比后缘更仔细,前缘形状直接影响飞行性能。建议在KT板下方垫一块厚切割垫,防止桌面损伤,也让刀刃切割更顺畅。Be more careful with the leading edge than the trailing edge — its shape directly affects flight performance. Use a thick cutting mat under the foam to protect your table and allow the blade to run smoothly all the way through.
翼梁加强Spar Reinforcement
结构加强 · 约30分钟Structural reinforcement · ~30 min
飞翼在飞行中承受较大的弯曲载荷,必须在主翼中心线位置嵌入碳纤维管作为翼梁,防止机翼在高速飞行时折断或变形。翼梁是飞翼结构最关键的部分。A flying wing endures significant bending loads in flight, so a carbon fiber tube spar must be embedded along the wing's centerline to prevent the wing from snapping or warping at high speed. The spar is the most critical structural element.
- 在主翼展方向中线处,用美工刀切出一条宽约6mm、深约3mm的槽Cut a 6mm-wide, 3mm-deep groove along the wing's spanwise centerline
- 将碳纤维管(6mm)嵌入槽中,确保与翼面齐平Insert the 6mm carbon tube into the groove flush with the wing surface
- 用CA胶浸渗固定碳管,等待完全固化(约5分钟)Apply CA glue to lock the tube in place; wait for full cure (~5 minutes)
- 在碳管上方用宽胶带封闭,保持表面平整Seal over the tube with wide tape to keep the surface smooth
- 额外在主翼前缘内侧贴一条竹签,增加前缘刚性Add a bamboo rod inside the leading edge for extra rigidity
💡 进阶加强💡 Advanced Reinforcement
如果计划进行较大俯冲速度或特技动作,可以在机翼上下表面额外粘贴一层玻璃纤维布(2oz),用CA胶浸透后可大幅提升抗冲击性能,重量增加约10-15g。If you plan on high-speed dives or aerobatics, laminate a layer of 2oz fiberglass cloth to the wing surface with CA glue. This dramatically improves impact resistance at a weight cost of only 10–15g.
折叠机翼Fold the Wing Profile
翼型成形 · 约40分钟Airfoil shaping · ~40 min
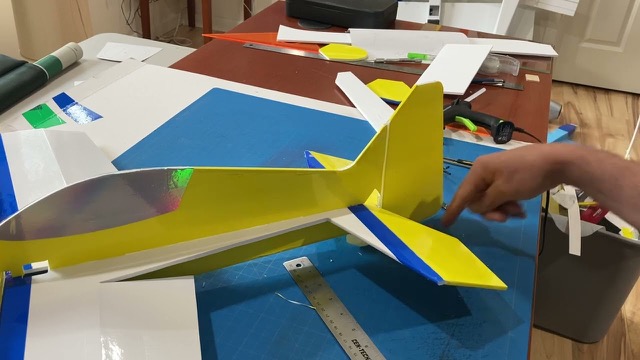
飞翼的翼型折叠工艺与教练机不同——飞翼采用扁平的低拱度翼型,折叠角度较小(约8-12°),以适应飞翼的高速飞行特性。正确的翼型折叠直接决定了飞机的升力系数和失速特性。Flying wing airfoil folding differs from a trainer — the wing uses a flat, low-camber profile with a small fold angle (8–12°) suited to high-speed flight. Correct airfoil shaping directly determines the wing's lift coefficient and stall characteristics.
- 在翼面中部(约翼弦30%位置)用圆珠笔划出折叠线,划线深度为板厚50%Score the fold line at ~30% chord with a ballpoint pen, to 50% of foam thickness
- 将翼面弯折至约8-10°,形成低拱度翼型Fold the wing to ~8–10° for a low-camber airfoil
- 在折叠线内侧涂少量CA胶固定,快速用手压住等待固化Apply a thin bead of CA inside the fold and hold firmly while it cures
- 翼梢部分折叠角度略小(约5-6°),形成扭转角(Washout)防止翼梢先失速Fold the wingtip area slightly less (~5–6°) to create washout and prevent tip stall
- 检查左右翼面折叠角度完全一致,否则飞机会出现侧翻倾向Check that both sides fold to identical angles — any asymmetry will cause a roll tendency
制作翼身一体机头Build the Blended Wing-Body Nose
机头制作 · 约50分钟Nose construction · ~50 min
飞翼没有独立机身,机头整流罩直接与主翼融为一体。机头需要容纳电机、防火墙、电调和接收机,同时保持良好的气动外形,减少阻力。A flying wing has no separate fuselage — the nose pod blends directly into the wing. The nose must house the motor, firewall, ESC, and receiver while maintaining clean aerodynamics to minimize drag.
- 裁切机头盒形结构:上下盖板、左右侧板各一片,厚度均为5mm KT板Cut the nose box: top/bottom panels and two side panels, all 5mm KT foam
- 用CA胶将机头盒粘合成长约120mm、宽约55mm的矩形截面Bond into a rectangular box ~120mm long × 55mm wide with CA glue
- 在机头前端安装防火墙(3mm胶合板或加厚KT板),用于固定电机Mount a firewall (3mm ply or doubled KT foam) at the nose front for motor attachment
- 机头两侧开散热孔(约10×30mm),为电调提供冷却气流Cut cooling vents (~10×30mm) on each side for ESC airflow
- 将机头粘合到主翼中心线位置,用CA胶和热熔胶加强接合处Bond the nose pod to the wing centerline, reinforcing the joint with CA and hot glue
- 在机头与翼面接合处用切割泡沫填充平滑过渡,减少气动干扰Fill the nose-to-wing junction with cut foam for a smooth aerodynamic fillet
💡 电池仓设计💡 Battery Bay Design
在机头下方留出电池仓,用魔术贴固定3S锂电,位置可前后移动约20mm,以便之后微调重心位置。这是飞翼配平最灵活的调整方式。Leave a battery bay on the underside of the nose — secure the 3S LiPo with Velcro and allow ~20mm of fore/aft travel for CG fine-tuning. This is the most flexible way to balance a flying wing.
电子设备安装Electronics Installation
电子系统 · 约60分钟Electronics · ~60 min
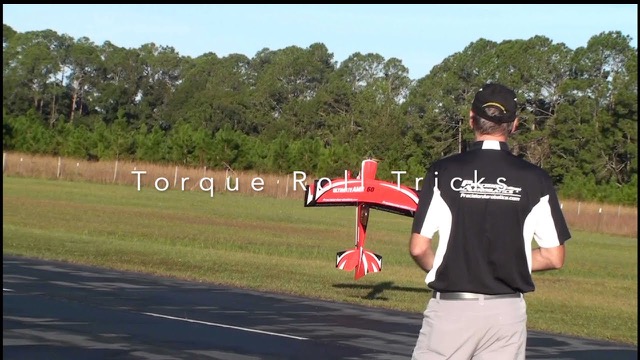
飞翼使用副升合一(Elevon)混控舵机,两个舵机分别控制左右舵面。遥控器端的Elevon混控(AIL+ELE混合)是飞翼飞行的关键设置,必须在安装前确认遥控器支持此功能。A flying wing uses elevon mixing — two servos controlling the left and right control surfaces. Elevon mixing (aileron + elevator combined) is the critical transmitter setting for wing flight; confirm your radio supports it before installation.
- 在左右翼面后缘内侧安装9g舵机,用CA胶固定舵机框Mount 9g servos inside the left and right trailing edge panels, securing servo frames with CA
- 安装副升合一舵面:用宽胶带在舵面上下各粘一层作为铰链Install elevon surfaces: tape both sides of the hinge line for a durable flexible hinge
- 用Z型钢丝连杆连接舵机臂与舵面,确保中立位时舵面水平Connect servo arm to elevon with a Z-wire pushrod; set neutral so the elevon is perfectly flat
- 电调安装在机头内部,焊接XT30接头,布置好电源线走向Install ESC inside the nose pod with XT30 connector; route power leads cleanly
- 接收机贴近机翼中心线安装,天线从两侧机翼穿出约5cmMount receiver near the wing centerline; route antennas ~5cm out each side of the wing
- 在遥控器上设置Elevon混控,确认方向:右副升 上偏→向右滚转、向上俯仰抬头Set up elevon mixing on the transmitter: right elevon up → roll right / pitch up (nose up)
⚠️ 混控验证⚠️ Mixing Check
打开遥控器和接收机,站在飞机后方观察:推升降→两侧舵面同时向下;左打副翼→左舵面向上、右舵面向下。如方向相反,在遥控器中翻转对应通道。Power up and stand behind the aircraft: push elevator → both elevons deflect down; left aileron → left elevon up, right elevon down. If reversed, reverse the corresponding channel in your transmitter.
调整重心与偏转量CG and Throw Adjustment
飞行配平 · 约30分钟Flight trim · ~30 min
飞翼的重心调整比常规飞机更为关键。重心过于靠后会导致飞机极不稳定,甚至无法控制;重心过于靠前则升降舵效率不足。首飞前必须将重心精确调整至设计位置。CG adjustment is more critical for a flying wing than a conventional aircraft. A rearward CG makes the wing dangerously unstable; too far forward reduces elevator authority. Get the CG right before any flight attempt.
- 飞翼重心位置:从前缘平均气动弦(MAC)的20-25%处,翼展中段量取Flying wing CG: 20–25% of the Mean Aerodynamic Chord (MAC), measured at mid-span
- 用两根手指在重心位置托起飞机,机头应轻微低头(约5°),不应抬头Balance on two fingers at the CG point — nose should be slightly low (~5°), never nose-high
- 移动电池前后位置调整重心,电池前移→重心前移,电池后移→重心后移Move battery fore/aft to adjust CG: forward → nose-heavy, rearward → tail-heavy
- 如电池移动范围不足,可在机头粘贴少量铅块配重(最多10g)If battery travel isn't enough, add small lead weights to the nose (max 10g)
- 设置舵机偏转量:Elevon 双向偏转各±15-20mm(比教练机略小)Set elevon throw: ±15–20mm each direction (slightly less than a conventional trainer)
- 添加3-5%的Elevon向上补偿(Reflex),使飞翼具有正俯仰稳定性Add 3–5% elevon up trim (reflex) to give the wing positive pitch stability
测试与首飞Testing and Maiden Flight
首飞准备 · 约40分钟Maiden flight prep · ~40 min
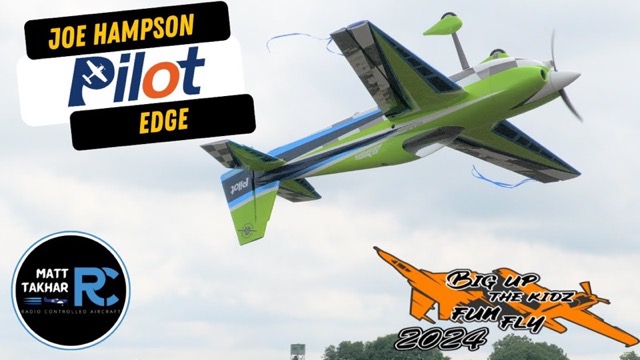
飞翼首飞需要比教练机更充分的准备。由于飞翼俯仰稳定性相对较弱,首飞最好由有一定飞行经验的玩家进行,或在模拟器上充分练习飞翼操控后再首飞。A flying wing maiden flight requires more preparation than a trainer. Because pitch stability is inherently lower, it's best flown by someone with prior RC experience, or after thorough practice on a simulator before the real maiden.
- 完整飞前检查:所有螺丝锁紧、控制面活动顺畅、重心确认Full pre-flight check: all screws tight, control surfaces moving freely, CG confirmed
- 选择无风或微风天气(风速低于3m/s),视野开阔无障碍场地Choose calm or light wind conditions (under 3 m/s) in a wide open area
- 手抛起飞:双手握住机翼中段,以约30-40°仰角用力前抛,同时推1/3油门Hand launch: grip the wing center section, throw forward at ~30–40° with 1/3 throttle simultaneously
- 首飞保持中等高度(50m以上),在舒适范围内测试各舵面响应Fly at medium altitude (50m+) on first flight, testing each control surface response in comfort
- 落地前收油门至零,利用飞翼升力大的特性进行平稳滑翔降落Cut throttle to zero before landing and use the wing's high-lift glide ratio for a smooth approach
🎉 恭喜完成!🎉 Congratulations!
您的KT板三角飞翼已经完成!掌握飞翼的操控手感后,可以尝试大坡度盘旋、高速通场等进阶动作。如果您想挑战更高难度,请参阅3D特技机制作教程。Your KT foam delta flying wing is complete! Once you're comfortable with the wing's handling, try steep bank turns and high-speed passes. Ready for a bigger challenge? Check out the 3D Aerobatic Build Tutorial.